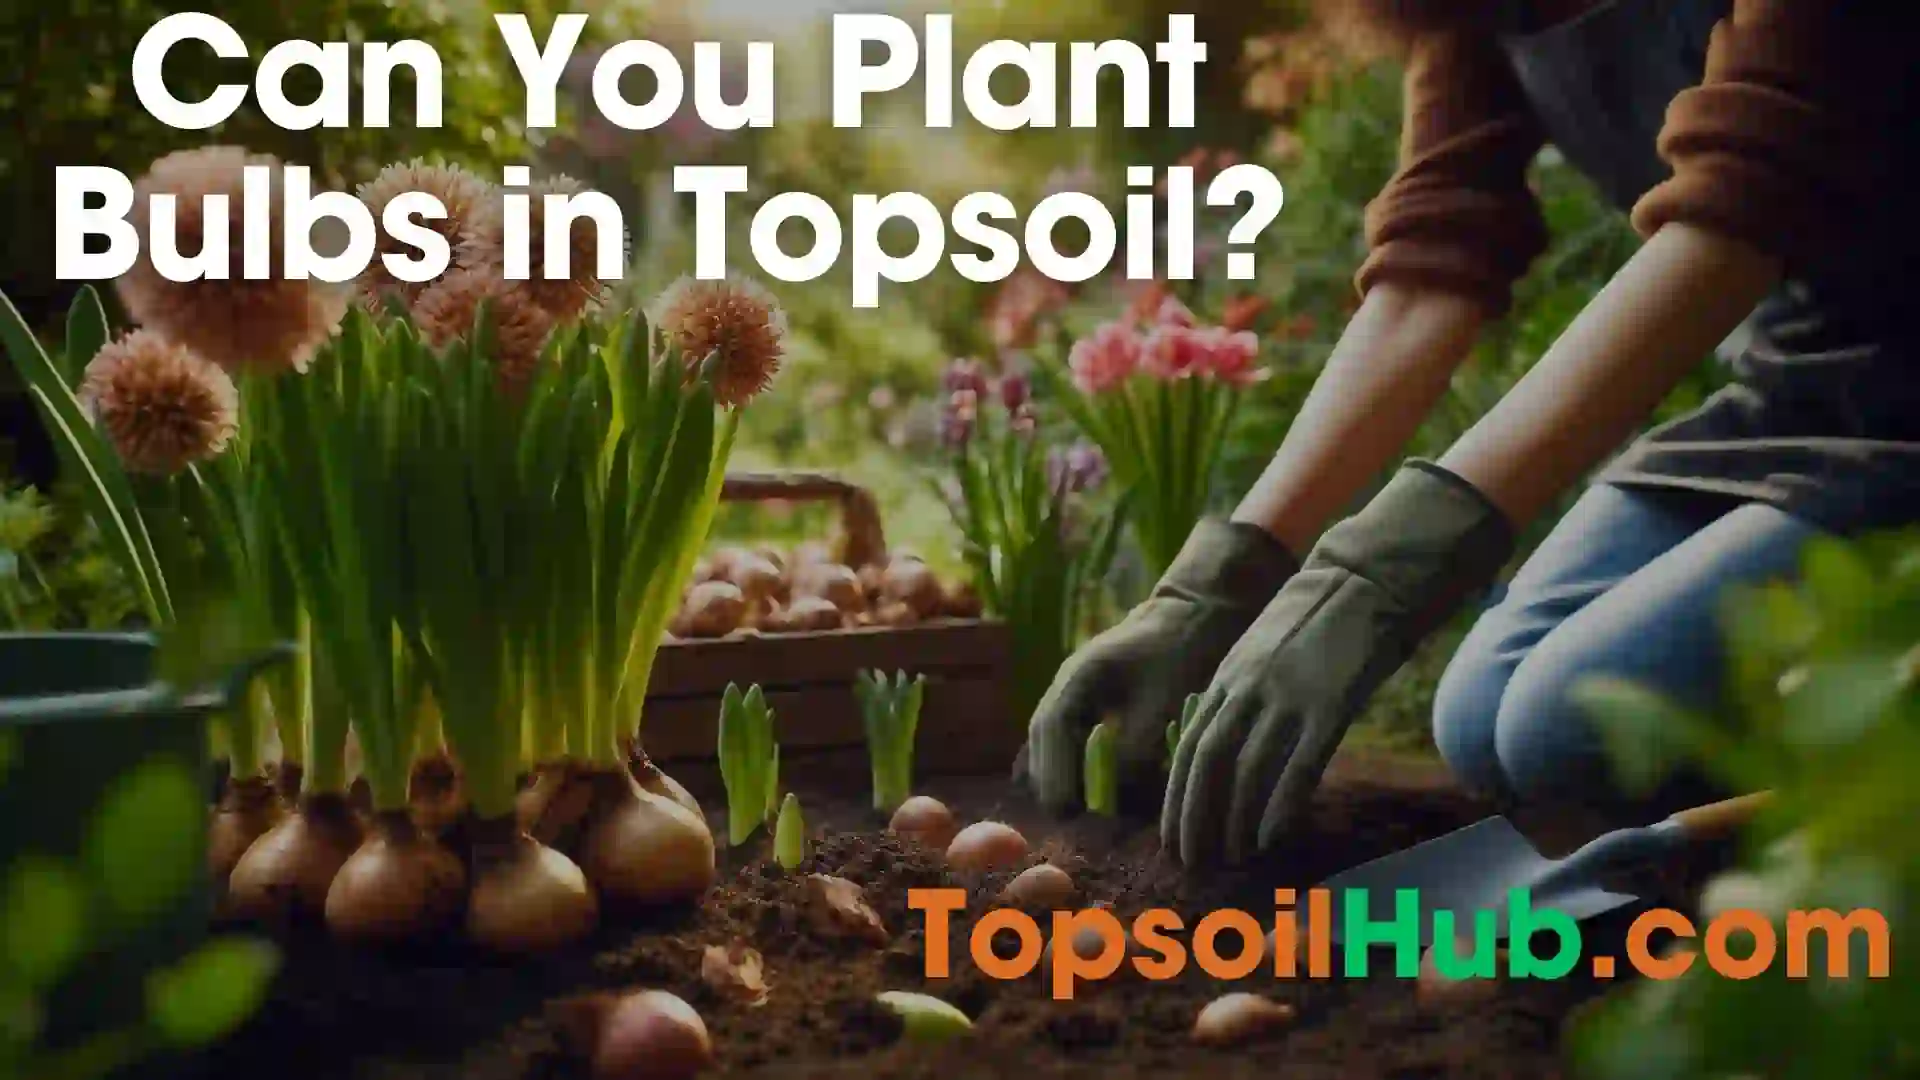
Can You Plant Seeds in Topsoil? The Truth About Starting Seeds
Starting seeds is one of the most rewarding and exciting aspects of gardening. You get to watch your plants grow from tiny seeds to beautiful flowers, fruits, or vegetables. But before you sow your seeds, you need to choose the right growing medium for them. In this blog post, we will answer a common question among beginner gardeners: can you plant seeds in topsoil?
Can You Plant Seeds in Topsoil? – Quick Answer
No, you cannot plant seeds in topsoil. Topsoil is too dense and may contain harmful organisms that can prevent the seeds from germinating and growing properly. You need a light and sterile seed starting mix that can provide the right conditions for the seeds to sprout and thrive. A good seed starting mix should have peat moss, perlite, and vermiculite as the main ingredients. These materials are designed to create a favorable environment for seed starting.
Reasons Why You Should Not Plant Seeds in Topsoil
Topsoil might look like a good growing medium for seeds, but it actually has several drawbacks that can harm your seedlings. Here are some of the reasons why you should not plant seeds in topsoil:
1. Topsoil is too heavy and compact.
Topsoil does not have enough air space to allow water to drain and oxygen to reach the roots. This can cause your seeds to rot or drown before they sprout. It can also make it hard for the roots to grow and spread in the soil.
2. Topsoil can contain diseases and pests.
Topsoil is not sterile, meaning it can harbor harmful fungi, bacteria, insects, and weed seeds that can infect or compete with your seedlings. These pathogens and pests can cause diseases, wilting, stunting, or even death of your plants.
3. Topsoil can vary in quality and composition.
Topsoil is not a uniform product but rather a mixture of different types of soil, organic matter, and debris. Depending on where you get your topsoil from, it can have different pH levels, nutrient contents, and textures. This can affect the germination and growth of your seeds.
What You Should Use Instead of Topsoil?
If topsoil is not a good choice for starting seeds, what should you use instead? The answer is seed starting mix.
Seed starting mix is a specially formulated growing medium that is designed to provide the ideal conditions for seed germination and seedling development. Seed starting mix has the following characteristics:
1. Seed starting mix is light and fluffy.
The seed starting mix has a lot of air spaces that allow water to drain and oxygen to reach the roots. This prevents your seeds from rotting or drowning and allows the roots to grow and spread easily.
2. Seed starting mix is sterile and weed-free.
Seed starting mix is made from pasteurized or sterilized ingredients that are free from diseases, pests, and weed seeds. This protects your seedlings from infections and competition.
3. Seed starting mix is consistent and balanced.
Seed starting mix has a uniform texture, pH level, and nutrient content that are suitable for most types of seeds. This ensures that your seeds get the optimal environment for germination and growth.
How to Prepare Your Seeds for Planting
After choosing the right growing medium for your seeds, the next step is to prepare your containers and sow your seeds. Here is how you can do it:
1. Choose high-quality seeds.
Buy your seeds from reputable sources that guarantee freshness, purity, and germination rates. Avoid old or damaged seeds that may not sprout or grow well.
2. Check the seed packet instructions.
Read the label on your seed packet to find out the best time to sow your seeds, how deep to plant them, how far apart to space them, how much water and light they need, and how long they take to germinate and mature.
3. Pre-treat your seeds if needed.
Some seeds may need special treatments to improve their germination rate or speed up their sprouting time. These treatments may include soaking, scarifying, stratifying, or chilling your seeds. Check the seed packet instructions or do some research online to find out if your seeds need any pre-treatment.
4. Fill your containers with seed starting mix.
Use clean and sterile containers with drainage holes to sow your seeds. Fill them with moistened seed starting mix up to about 1/4 inch from the top. Do not pack or compress the mix too much.
5. Sow your seeds according to the instructions.
Place your seeds on the surface of the mix or press them lightly into the mix according to the recommended depth. Cover them with a thin layer of mix if needed. Label your containers with the name and date of sowing.
6. Water your seeds gently but thoroughly.
Use a fine mist or a gentle stream of water to moisten the mix without disturbing the seeds or washing them away. Keep the mix evenly moist but not soggy until your seeds germinate.
7. Provide adequate light and warmth for your seeds.
Place your containers in a bright location that receives at least 6 hours of indirect sunlight per day. You can also use artificial lights such as fluorescent tubes or LED bulbs to supplement natural light. Keep your containers at a warm temperature between 65°F and 75°F. You can use a heating mat or a warm spot in your house to maintain the temperature.
Monitor Your Seeds and Seedlings
Now that you know how to sow and water your seeds, you need to provide them with adequate light and warmth for germination. Here are some tips on how to do that:
- Check your containers daily for signs of germination, moisture level, and any problems. You can use a magnifying glass or a flashlight to see if your seeds have sprouted. You can also gently lift the containers and feel their weight to see if they need more water. You should keep the mix evenly moist but not soggy until your seeds germinate.
- Once your seeds sprout, remove any covers or domes that you used to create a humid environment. This will prevent your seedlings from getting too hot or damp, which can cause fungal diseases or damping off. You should also lower the temperature to about 60°F to 70°F to encourage strong and sturdy growth.
- Thin out any excess or weak seedlings to avoid overcrowding. Overcrowded seedlings can compete for space, light, water, and nutrients, which can result in poor growth and health. You should thin out your seedlings when they have two or three true leaves, leaving only the strongest and healthiest ones in each container. You can either snip off the unwanted seedlings with scissors or gently pull them out by their roots.
- Fertilize your seedlings with a diluted liquid fertilizer once they develop their first true leaves. Seed starting mix does not have many nutrients, so you need to feed your seedlings with a balanced fertilizer that contains nitrogen, phosphorus, and potassium. You should use half the recommended strength and frequency on the label and apply the fertilizer to the soil around the base of the seedlings, not directly on their leaves.
Conclusion
In conclusion, topsoil is not suitable for starting seeds directly in it. Topsoil is too dense, may contain harmful organisms, lacks proper drainage and air circulation, and has inconsistent quality. Instead, a sterile, lightweight seed starting mix is recommended for sowing seeds and growing healthy seedlings. The ideal seed starting mix contains ingredients like peat moss, perlite, and vermiculite. It provides the proper balance of moisture retention, drainage, and airflow needed for seeds to germinate and seedlings to establish roots.
With the right growing medium, proper sowing techniques, adequate warmth, light, moisture, and care, you can help your seeds successfully progress from sowing to transplanting into the garden. The key steps are choosing viable seeds, pre-treating if needed, sowing at the right depth, watering gently, providing warmth and light, thinning and fertilizing at the right time. Follow these guidelines, and you will be rewarded with a bountiful harvest from the seeds you nurture.
Have you tried starting seeds in containers? What are some of the challenges or successes you have faced? Let us know in the comments below.